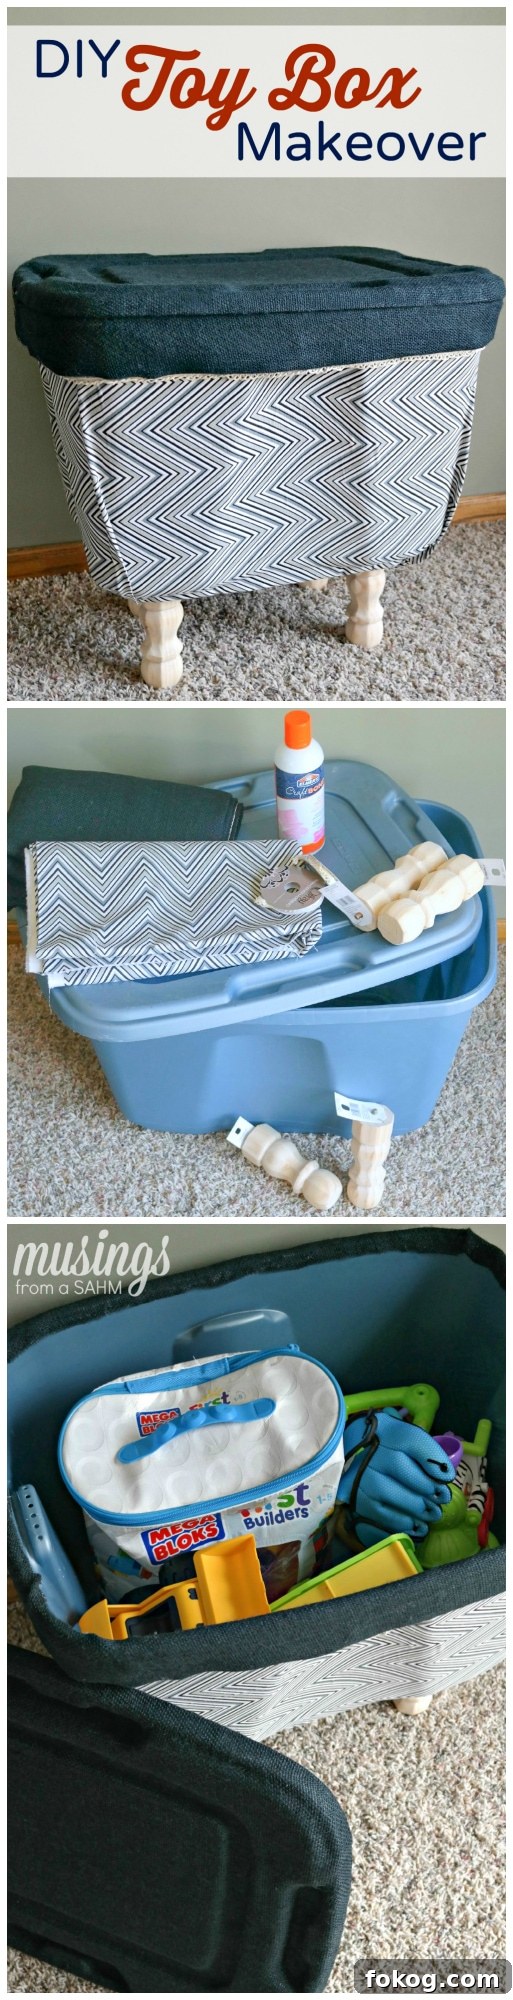
With more than 18 years of experience in interior design, I’ve often struggled to find toy storage that blends seamlessly with a home’s decor. I want my house to feel welcoming and lived in — which includes being lived in by lots of little people. Because most of our toys live in the main living area rather than tucked away in bedrooms, a toy box needs to look attractive and fit the room’s style.
Over the years I’ve seen many creative solutions, including makeovers using basic plastic storage totes. Inspired by those ideas, I designed a version of my own and loved how it turned out. It’s affordable, easy to customize, and helps the living space stay tidy without sacrificing style.
Below is a step-by-step guide to transform an ordinary plastic storage bin into a finished toy box that complements your decor. This project is adaptable — choose fabric, trim, and feet that match your room for a truly custom piece.
DIY Toy Box Makeover
Supplies:
Materials and tools you’ll need:
- 1 plastic storage tote with lid
- 1–2 yards of fabric (amount depends on tote size)
- 1 yard of burlap or coordinating upholstery fabric for the lid
- 1–2 spools of cording or decorative trim
- Spray adhesive suitable for fabric and plastic
- Hot glue gun and glue sticks
- 4 furniture feet (wooden or other style you prefer)
- 4 nuts and washers to fit the screws on the feet
- Drill and drill bit (same size or slightly larger than the screws)
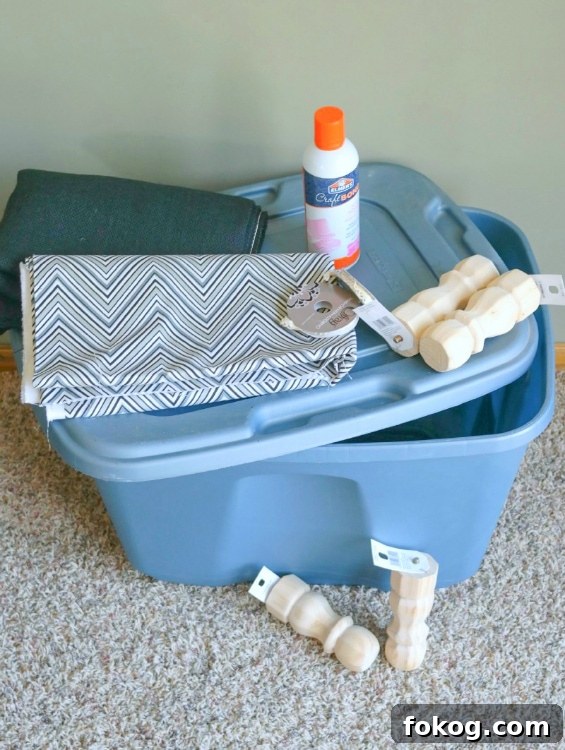
Preparation: Choose a durable fabric that holds up to wear, and a burlap or textured fabric for the lid to add contrast. Measure your tote before cutting fabric so you have a little extra for folding and securing at the seams. If you prefer painted or stained feet, finish them now and allow them to dry completely before attaching.
Step-by-step instructions:
- Turn the tote upside down and mark the positions for the four feet near each corner. Drill holes through the bottom of the tote at the marked positions. Use a drill bit that matches the screw diameter or is slightly larger so the screws pass through easily.
- Cut the side fabric to the height of your tote plus a little extra for tucking under the rim and finishing the bottom. Cut the length so it wraps around the tote; using two side panels with a seam on each side can reduce waste and make pattern matching simpler.
- Work in small sections when applying spray adhesive. Spray a small area of the tote, then smooth the fabric onto the adhesive, pressing out any wrinkles as you go. Continue around the tote until the sides are covered. Take care at the corners — the tote’s contour will require small, neat folds. Secure excess fabric to the underside where possible.
- Cut a piece of burlap or the chosen lid fabric to cover the lid’s top, allowing it to wrap down the sides and underneath for a clean edge. Attach with spray adhesive, smoothing the fabric to avoid bubbles.
- To hide raw edges and create a finished look, add a burlap band or decorative trim around the top edge of the tote where the lid meets the sides. Use hot glue to secure the band to the inside rim and to attach trim where the fabrics meet. The trim will conceal seams and add a tailored touch.
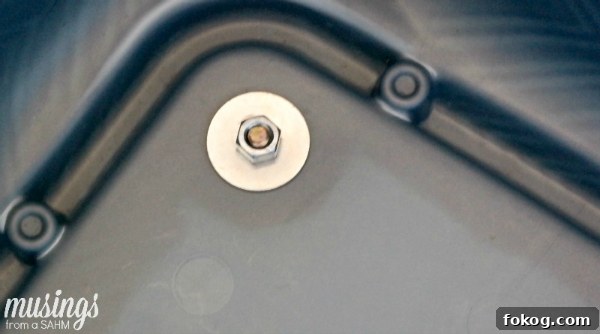
- Finish by fastening the furniture feet. From the outside bottom of the tote, insert each foot’s screw and secure it inside the tote with a washer and nut. Tighten so the feet are firm but avoid overtightening plastic to prevent cracking.
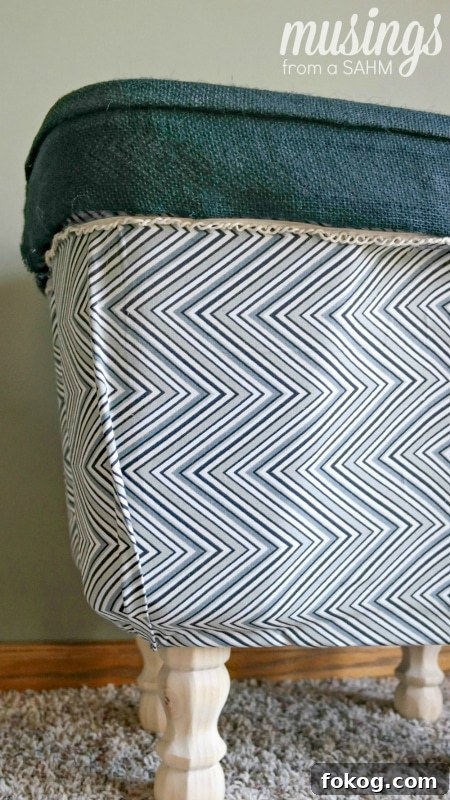
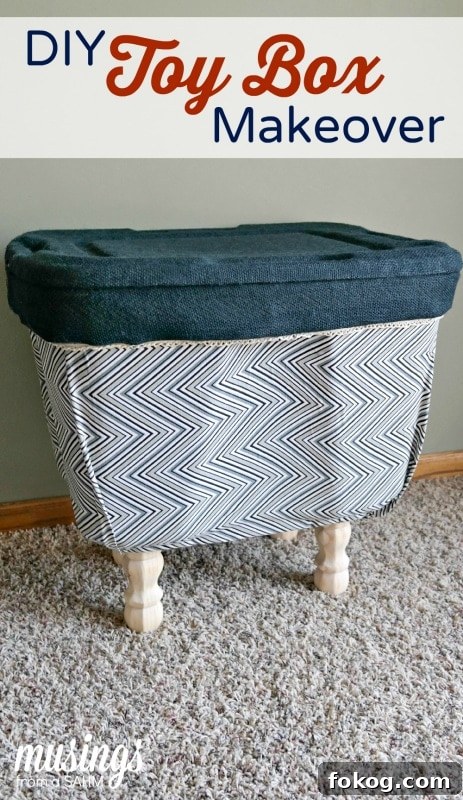
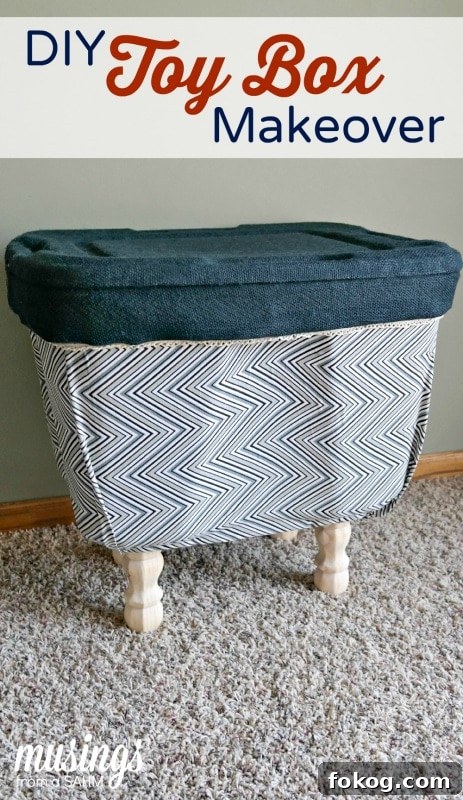
Once assembled, your toy box is ready for toys, books, blankets, or seasonal items. The fabric-covered sides and burlap-topped lid give a tailored appearance, while the feet lift the piece off the floor for a furniture-like feel.
This project is highly flexible. Use taller legs for a raised chest, skip the feet for a lower profile, or substitute marine-grade fabric for outdoor use. A neutral fabric creates a subtle look for living spaces, while a bold pattern makes a playful statement in a child’s room. You can also adapt the same method for extra bedroom storage, a blanket chest, or a toy bench by reinforcing the lid for sitting.
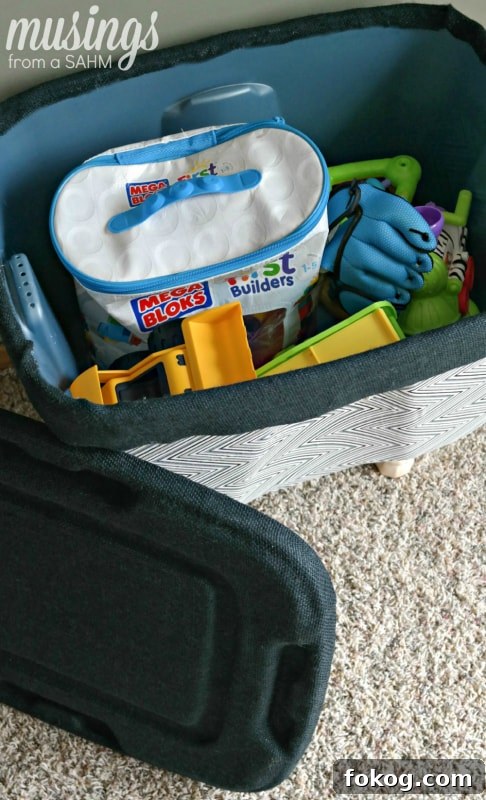
The finished piece is practical, affordable, and visually cohesive with your home’s decor. With a few materials and a couple of hours, you can turn a plain plastic bin into attractive, functional storage that suits any room.