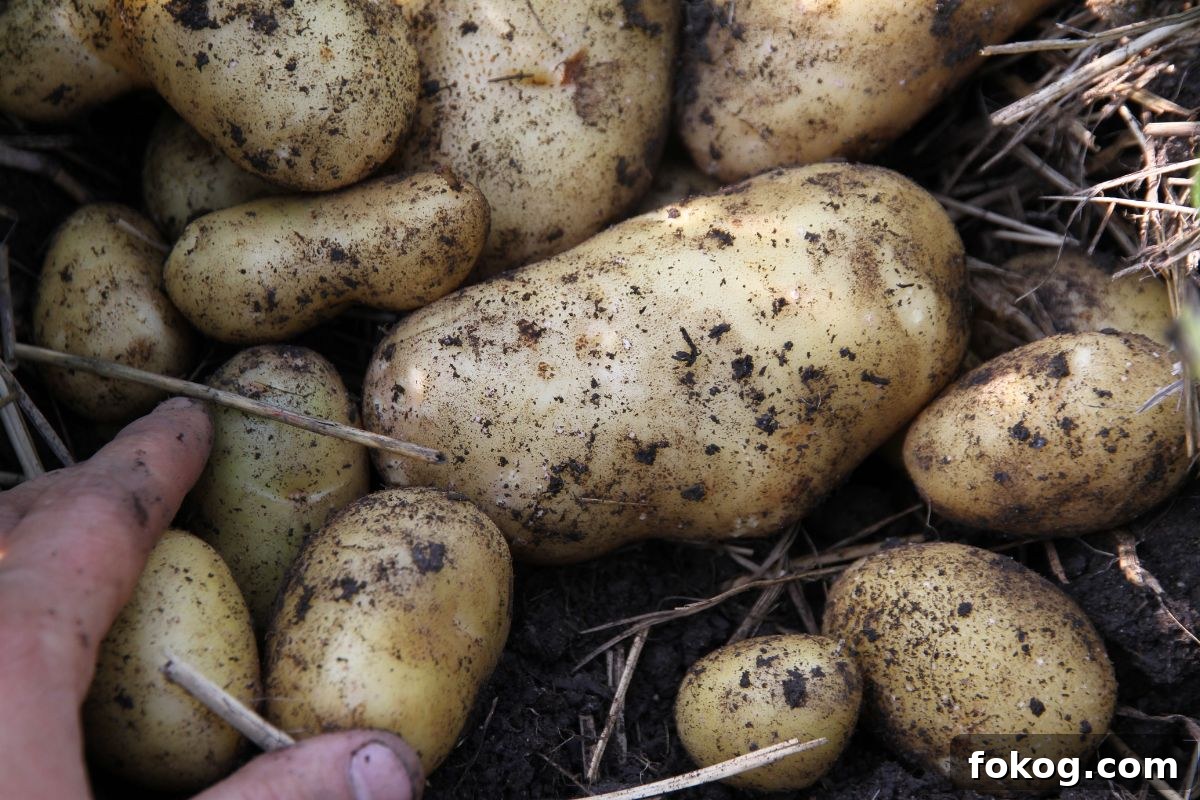
Learn how to plant potatoes in early spring for a full, easy harvest. Below I share practical, low-maintenance tips that make potatoes simple to grow and effortless to care for, plus guidance on varieties and timing so you get the results you want.
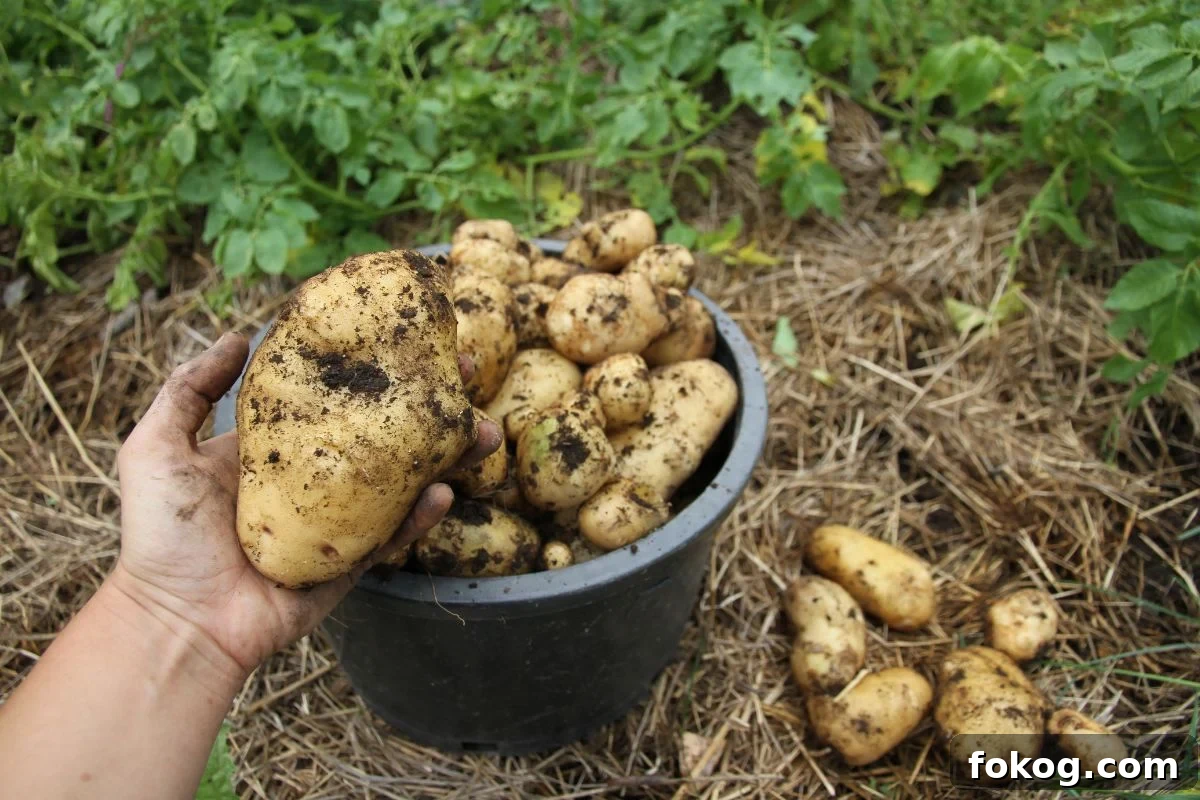
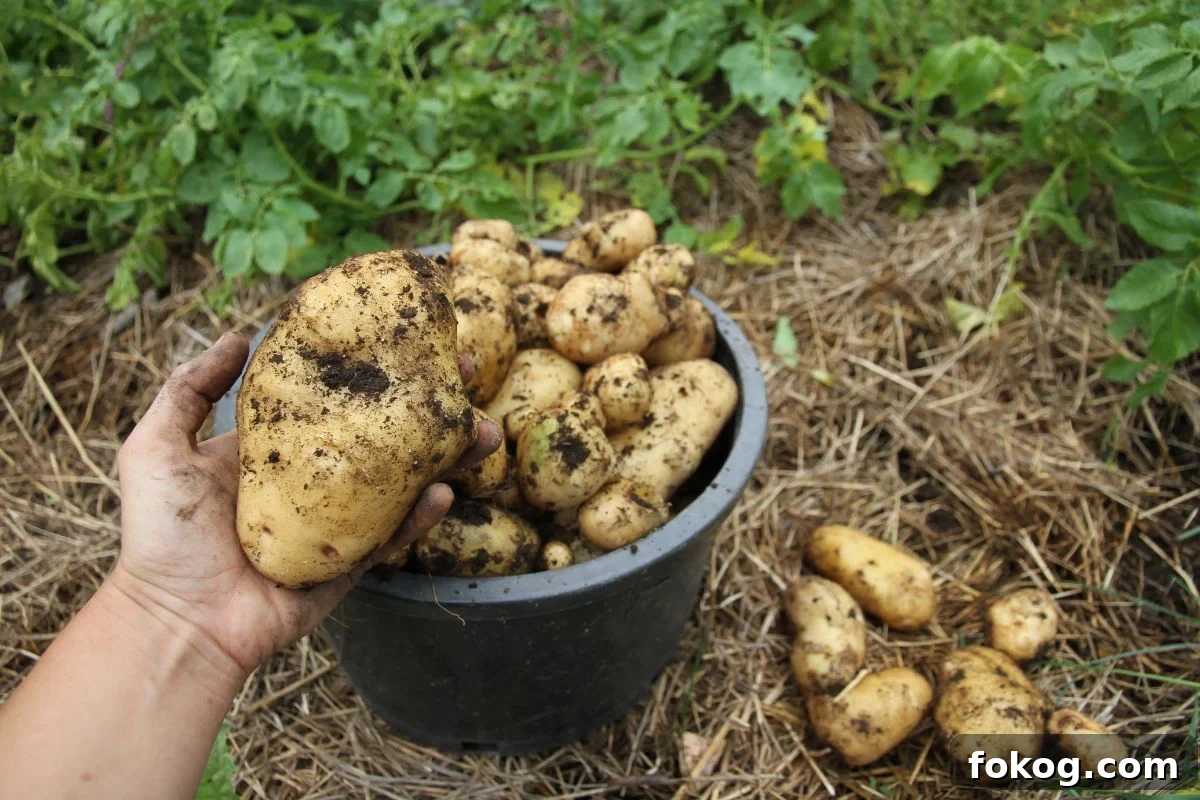
Potatoes are a staple in my garden every year. They need space, but reward that space with abundant tubers that store well through winter. In well-drained, tended soil they thrive and produce reliably, and homegrown potatoes also offer better flavor than most store-bought options.
Why I prioritize potatoes:
- Clean eating: Commercial potatoes often receive pesticides, fungicides and anti-sprout treatments. Growing your own lets you control inputs and serve cleaner food.
- Simple planting: You don’t need true seeds—seed potatoes or pieces of tuber are planted directly, which speeds the whole process.
- Low maintenance: A good layer of mulch reduces weeding and supports steady growth without constant attention.
- Long storage: Properly cured and stored homegrown potatoes can last through winter in a cool, dark place.
- Superior flavor: Freshly dug potatoes have a richness and texture that store varieties usually lack.
Growing potatoes at home is an excellent way to add quality, reliable food to your household. Below are key terms, buying tips, variety guidance and a step-by-step planting method to help you succeed.
Terminology for Planting Potatoes
If you’re new to potatoes, these basic terms will help.
Potato seeds: Rarely used by backyard gardeners. True seeds require greenhouse starts and a long season. Most gardeners use seed potatoes.
Seed potatoes: Certified, disease-free tubers saved or purchased for planting. They’re easy to store over winter and multiply quickly in the garden.
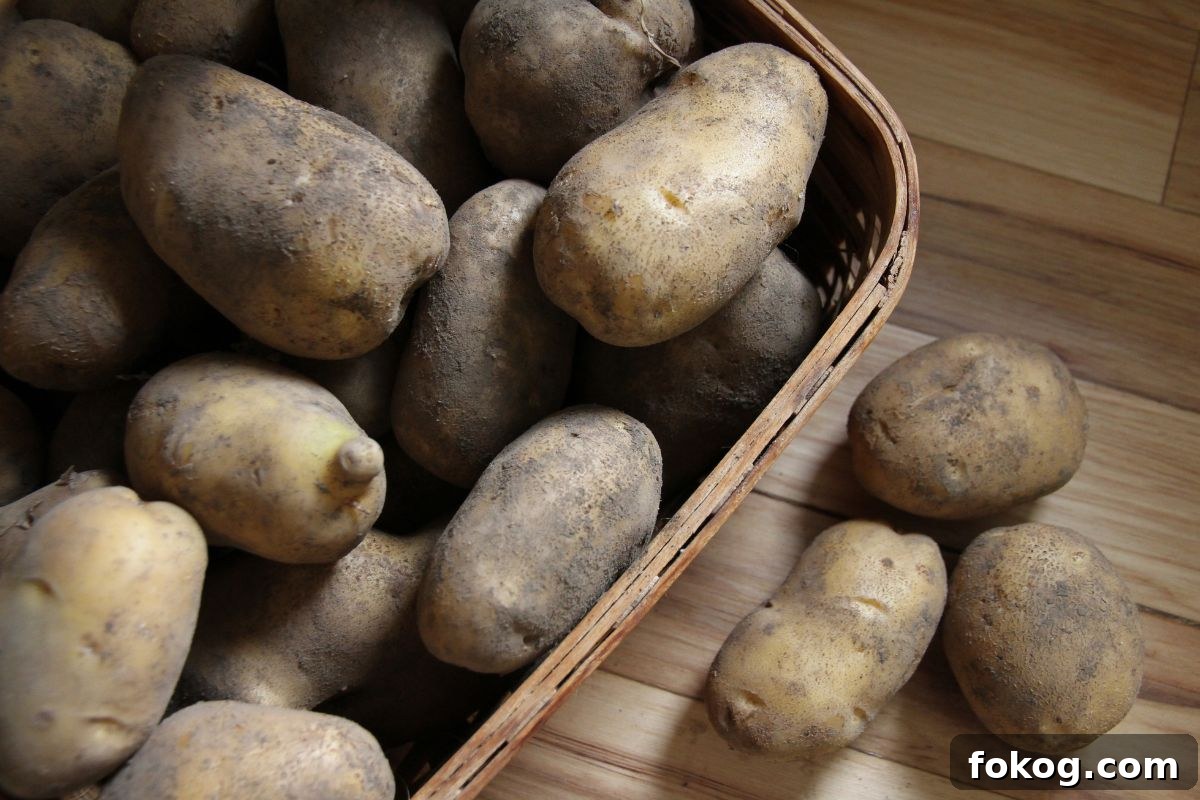
Potato eyes: Small indentations or buds on tubers where shoots emerge. When cutting seed potatoes, ensure each piece has several eyes.
Chitting: A practice of setting seed potatoes in a bright, cool spot to encourage sprouts before planting. It gives plants a head start.
Hilling: Piling soil or mulch around growing stems to encourage more tuber formation and keep developing potatoes covered so they don’t turn green.
Tips for Buying Seed Potatoes
Always buy certified disease-free seed potatoes from trusted sources. Supermarket potatoes are treated for shelf life and may carry pests or diseases, so avoid using them for seed.
Where to look locally: garden centers, independent hardware stores or a gardening friend who grows healthy seed tubers. Locally grown seed often performs well in your climate.
For online purchases: many reputable seed companies sell and ship certified seed potatoes. When ordering, plan several months ahead to avoid sell-outs. Seed suppliers typically ask for your growing zone or zip code to time shipments for your planting window.
Types of Potatoes by Season
Different varieties are suited to early, mid or late season harvests. Choosing a mix lets you enjoy fresh new potatoes in summer and store others for winter.
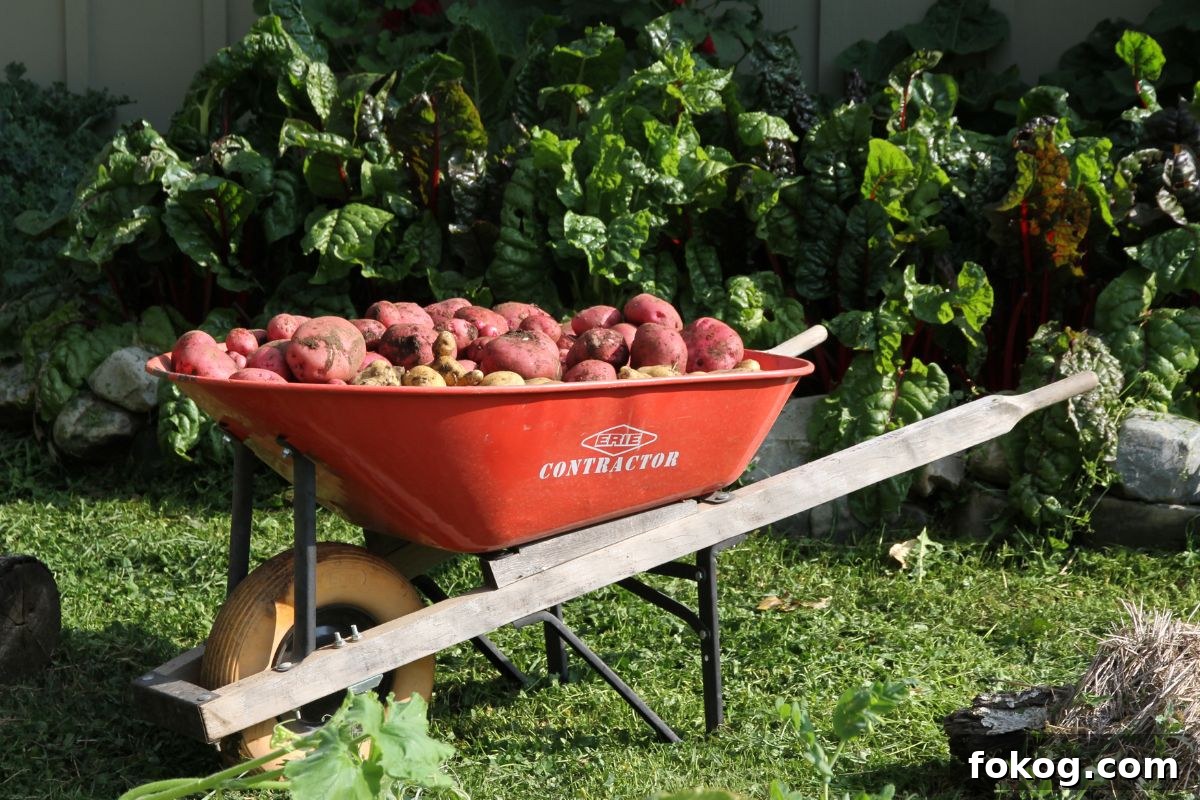
Early Season (ready ~75–90 days)
- Irish Cobbler — good for baking and boiling
- German Butterball — yellow, all-purpose
- Red Pontiac — red-skinned, baking/boiling
- Warba — white, baking/boiling
- Yukon Gold — versatile yellow variety
Early types produce tender new potatoes by late summer and free up bed space for later crops.
Mid Season (ready ~90–110 days)
- Chieftan — red, good for boiling or fries
- French Fingerling — slender, excellent for roasting
- Gold Rush — early russet-style for baking
- Masquerade — multi-colored, all-purpose
- Red Gold — red, versatile
Late Season (ready ~120–135 days)
- Kennebec — all-purpose, good keeper
- Kahtadin — buff-skinned, baking/boiling
- Russian Blue — colorful, baking/frying
- Russet Burbank — classic baking russet
- Warba and Yukon Gold — also used late for storage
Late-season varieties generally develop thicker skins and store best through winter when cured properly.
All-Purpose Varieties
Some potatoes perform well across early, mid and late seasons, offering tender summer potatoes and durable, storable tubers later on:
- German Butterball (Sieglinde) — favorite yellow all-purpose
- Red Pontiac — consistent red all-purpose
- Warba — reliable white baking potato
- Yukon Gold — versatile and flavorful
How to Plant Potatoes in the Spring
Step 1: Loosen the soil
Work beds with a broadfork or pitchfork so soil is loose and drains well. Remove grass and weeds that would compete with young plants.
Step 2: Prepare seed potatoes
Three common preparation methods:
- Chit in a bright, cool spot to encourage sprouts.
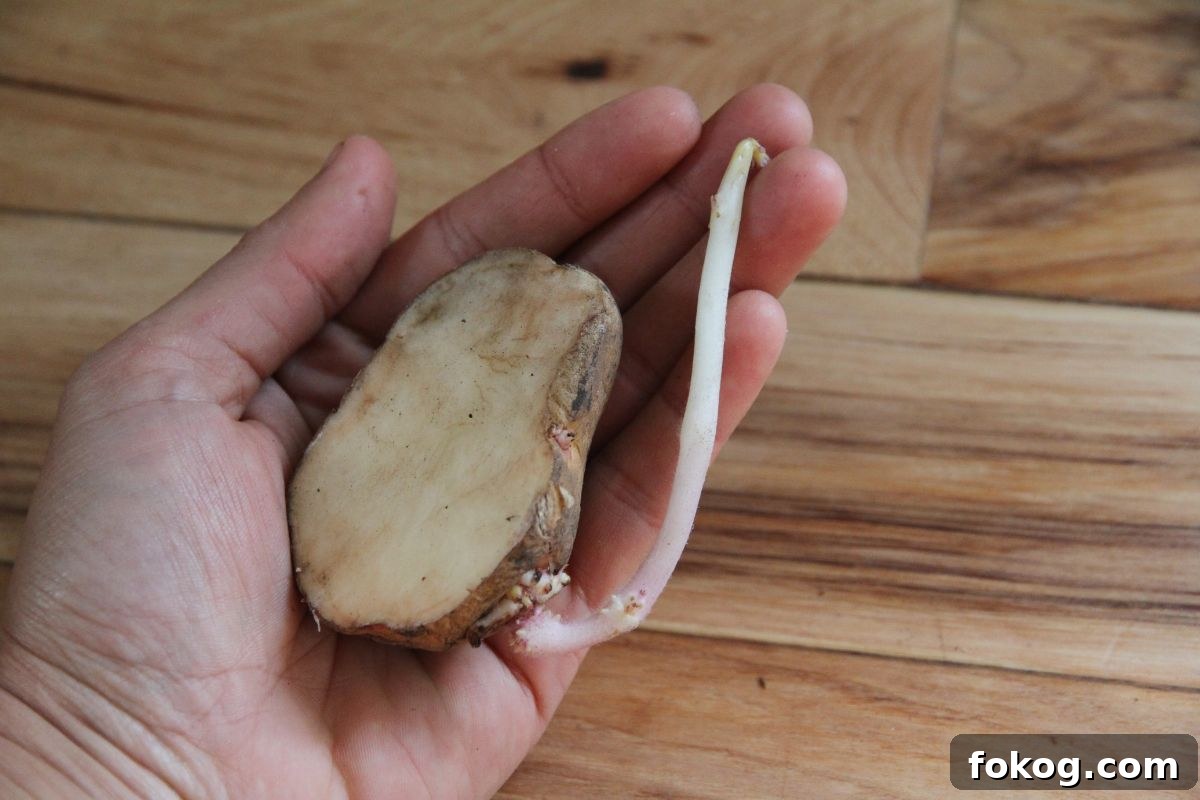
- Cut seed potatoes into 1–2 oz (28–57 g) pieces, each with several eyes.
- If soil is heavy or poorly drained, let cut pieces dry 2–3 days to form a protective skin and reduce rot risk before planting.
Step 3: Plant
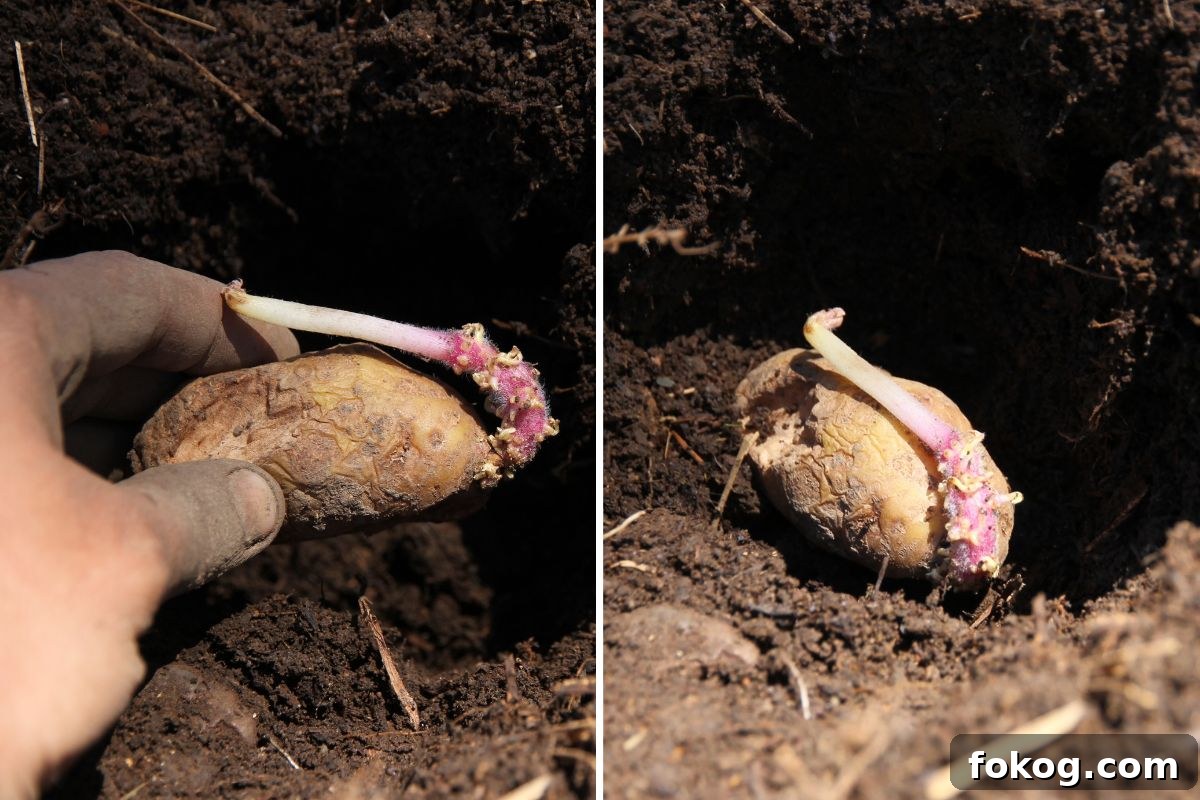
Make a hole 4–6 inches deep, set a piece of seed potato in the hole with the eyes facing up, and backfill. Space plants 12–16 inches apart. For double rows, leave at least 16 inches between rows and stagger plants in a zig-zag pattern to maximize yield.
Step 4: Mulch
Apply a 3–4 inch layer of straw mulch over the bed. Straw suppresses weeds, conserves moisture and eliminates the need for traditional hilling, making potato care much easier.
Step 5: Water
Water thoroughly after planting to help seedlings establish. With a good mulch layer, you’ll water less frequently—check the soil under the straw and water when it feels dry.
Step 6: Grow and harvest
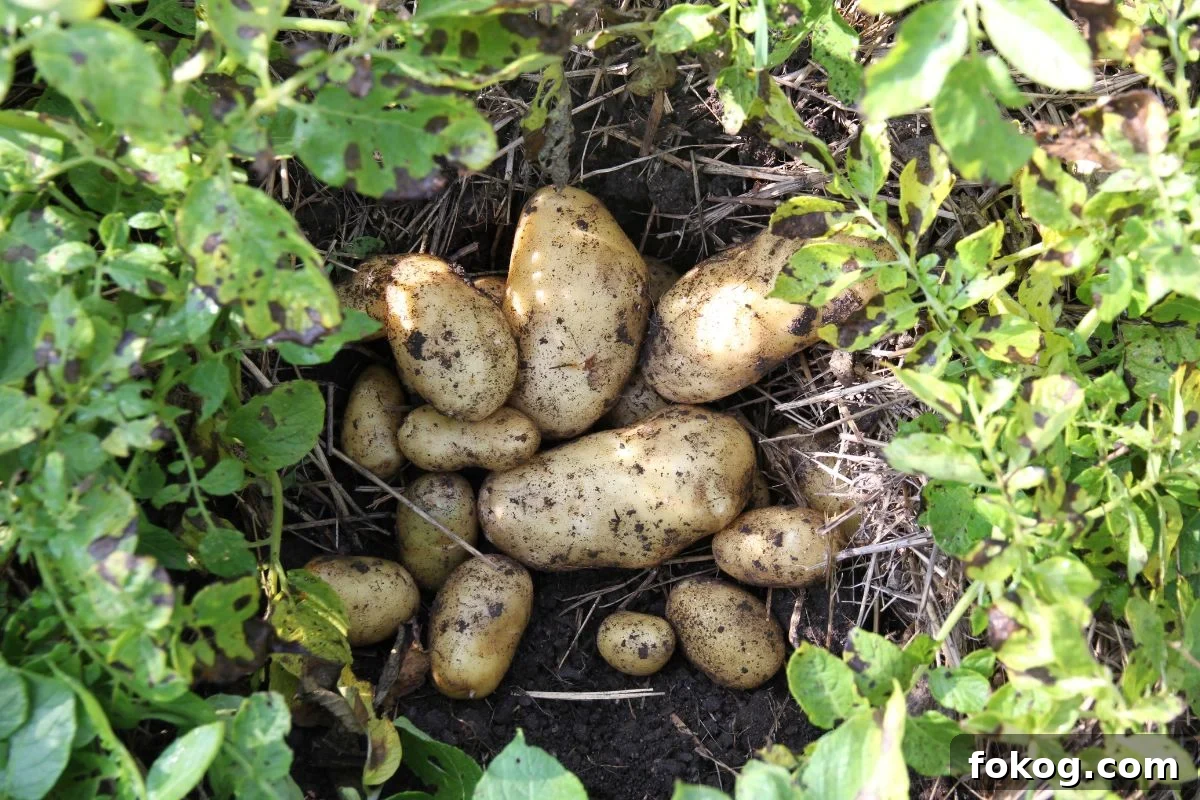
With straw mulch you’ll rarely need to weed or hill. Potato plants will flower, and you can harvest new potatoes about 2–3 weeks after flowering begins. For mature potatoes intended for storage, wait until vines die back, then lift and cure tubers before storing.
Growing potatoes is straightforward and rewarding. With the right seed, simple bed prep and a solid mulch routine, you’ll enjoy homegrown potatoes all season and into winter.